 |
| Kindergarten and First Day Back to School 20 Years Later!!! :D |
My online class is Learning Theory, and as part of the course, we are learning a new skill over the course of eight weeks, and blogging to record our learning process. I've wanted to learn how to sew, and since getting married I've looked for my own sewing machine. For months I've asked friends what they look for in sewing machines, and feedback consisted of "Pfaff or Viking are the best". I knew older machines have more metal and less plastic in their parts, and have the catch-phrase "built to last." And on Tuesday, I FOUND THE PERFECT SEWING MACHINE IN THE CLASSIFIEDS!!!
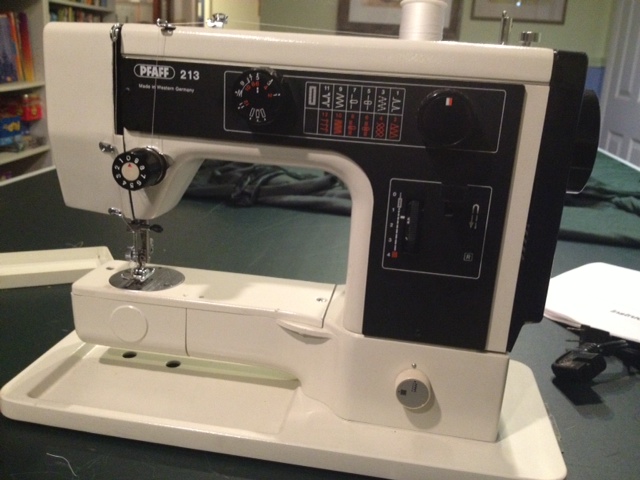
$89 dollars, recently refurbished, and it came with the manual, foot pedal, and an awesome mystery box of accessories! 1980s Pfaff, mostly metal (it is
 |
| I GOT A MINI BROOM!!!! ITS ADORABLE! I know what the seam ripper and seam gauge are, but if you know what the plastic things along the bottom or to the right of the broom are, I'd appreciate your input! I think the white square is sewers (that came out like the gloomy under-road piping system... how do you say "chalk that belongs to a sewer"?) chalk, but I'm not sure. |
 |
| Proof I need to learn how to sew a straight line. |
I'd written goals that I would learn the names of parts of the sewing machine, and five different stitches. Tonight I learned about the seam gauge, pressure leaver, thread guides, and thread holder. I need to learn how to replace the light bulb as it's burnt out. My sister showed me how to thread the machine, adjust different types of stitches, and adjust the width of stitches. The manual lists what stitches are available for use and what to best use them for. My sister also showed me how to sew a seam, and a hem.
I'm grateful and excited for this project! My brother joined us for a few minutes while my sister was showing me how to pick up the bobbin's thread with the needle. He had remembered from 7th grade home economics the memory trick of pulling the bobbin's thread down to form a "9" to make sure that it had been inserted correctly. Now I'm more likely to remember it!
We also used repetition to help me get some of the processes down. Lil Sis showed me how to thread it once, then I practiced three times on my own. Now I feel confident I'll be able to do it by myself in Logan. I was experiencing "tip of the tongue" phenomenon too--I'd known what a seam ripper was, and at one point just couldnt recall its name.
I collected a couple books from the USU library on sewing. Skimming through has helped me feel excited about what I'll be able to accomplish. One of the books, The Sewing Machine as a Creative Tool by Karen Bakke, reminded me that I dont need to limit myself to patterns or functional creations (something I tend to focus on). I loved her statement, "The main thing to remember is that sewing is first and foremost fun and that whatever you do is right." Our reading for next week is about motivation, and I feel like "fun" is a major motivator for me. I'm excited to see what the rest of this semester brings!
No comments:
Post a Comment
Hello! :) Please comment on my blog. :) Remember this blog is my online home, and as such, please treat me and my guests with respect.
Any visitors who are noncompliant with this request will be thrown into the compost heap... ;)